The right maintenance of marble counters helps preserve the stone’s beauty, integrity, and value. Using a sealer is part of a system of care for any marble because the porosity makes it more prone to staining.
A sealer doesn’t prevent stains from happening in the first place. Instead, it helps buy time from a stain settling into the stone’s soft surface. Some sealers also offer some level of protection from etching, which results from acid reacting with the calcium carbonate and causes the surface to dull or etch like a scratch in the stone.
Sealing marble regularly is especially important for countertops because kitchens and bathroom installs typically include a sink, which means marble will frequently come in contact with water. Additionally, common things like coffee, fruit juice, oil, lotion, lipstick, and other cosmetics can penetrate into the pores of the stone if not wiped up quickly enough.
The water absorption rate is also affected by the stone’s finish. Polished marble won’t absorb as much liquids as unfinished marble because it had a lot of the pores removed during the finishing process, while honed marble will absorb more than polished marble but less than unfinished marble.
How to seal Marble Countertops?

Marble is a soft, calcium based stone that is frequently cut into slabs and tiles for use in and around the home. While marble is sturdy enough to be used as a countertop material, it is also porous, which means that it can absorb impurities from water and other liquids that may come in contact with it.
Step 1
Clear your counters of any items. Then take a damp cloth and wipe down the counters to ensure they are free of dust and other particulates. If you wish to take this step to the next level, we suggest doing the prep cleaning with a marble or granite cleaning solution, which is formulated specifically for cleaning natural stone.
Step 2
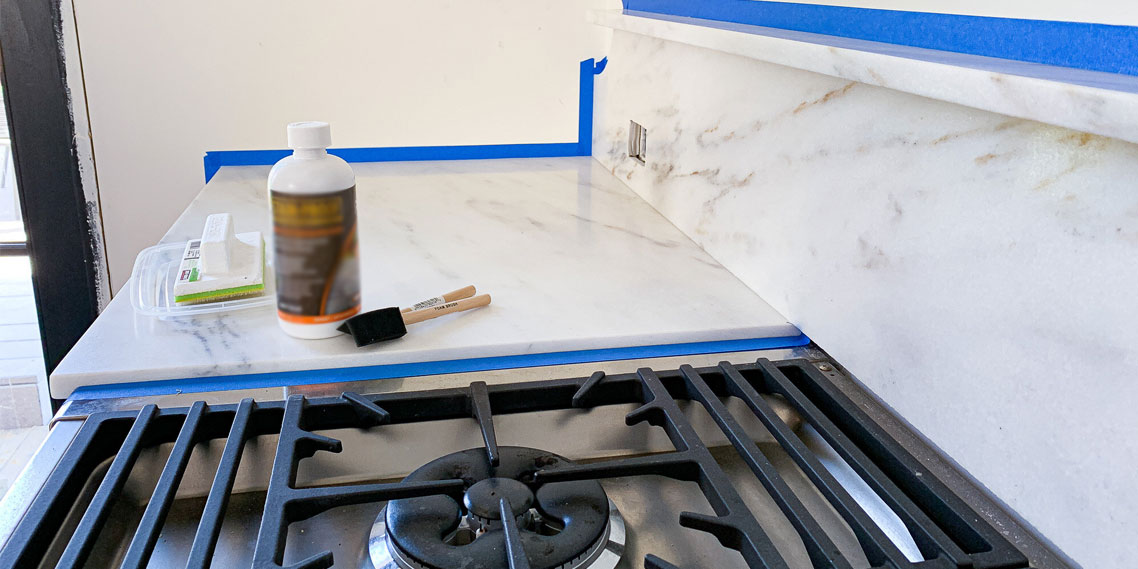
After letting your marble counters dry, it’s time to apply the stone sealer.
Spray a generous amount of sealer across the dry marble countertops, ensuring full surface coverage. Depending on the size of your kitchen, it might be best to work in sections as to not get overwhelmed or lose track of what areas you’ve already applied sealer to.
Step 3
The next phase is to let it dry, but also to observe the state of the sealer over the next 15 minutes. What you want is for the sealer to fill in any pores but also not dry entirely on the surface. This could leave a hazy residue, which is why it’s important to keep an eye on the sealer as it settles and dries.
If the sealer soaks into the crevices and pores of the marble before 15 minutes is up, apply more sealer, and repeat. What you want at the end is to wipe off any remaining sealer that remains on the surface. If it dries before you can wipe it up with a dry cloth or paper towel, simply spray more sealer, wait a few minutes, and wipe up. That should prevent against a hazy seal.
Step 4
You’re done, but it’s important to remember to leave your countertops alone for the next hour or more. Generally speaking, a good rule of thumb is to just leave your countertops free of items and usage for the next 24 hours. While not always necessary, this will ensure there is zero chance of you or anyone undermining the annual seal.
read more:


